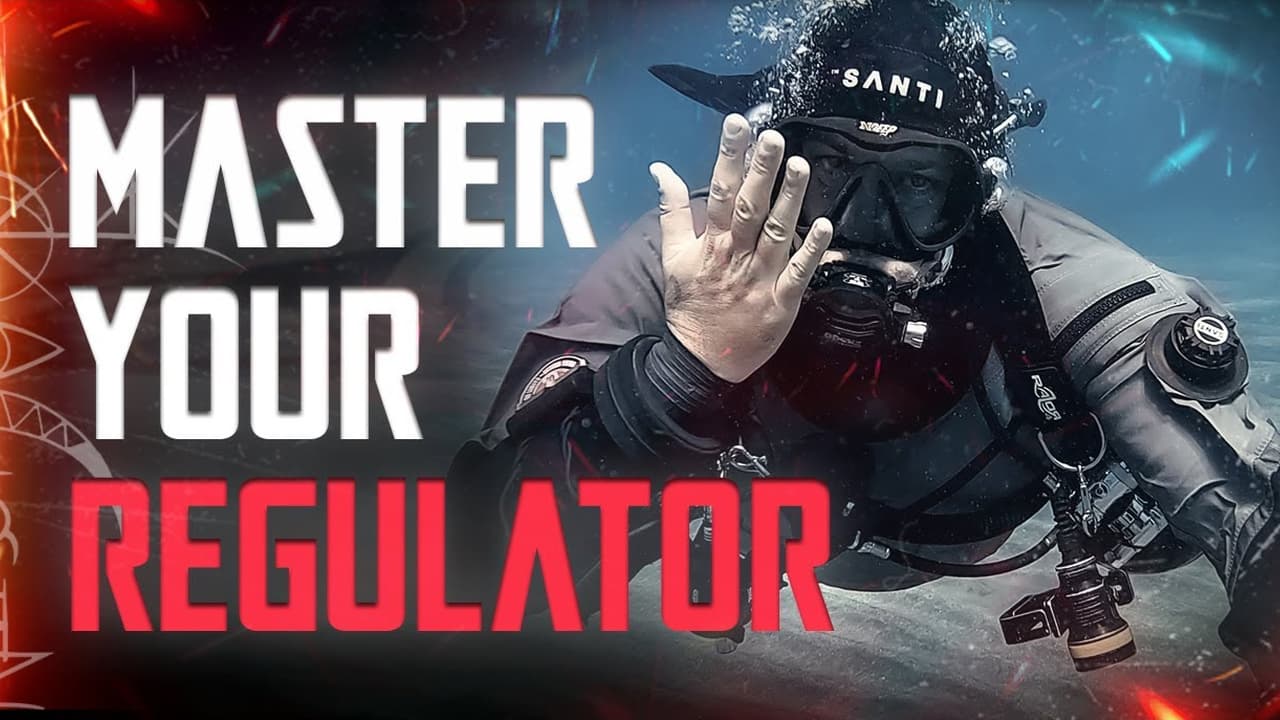
Mastery of diving begins long before a diver enters the water. It begins on land, with deliberate attention to the gear that keeps us alive beneath the waves. One of the most foundational - and often overlooked - skills in scuba diving is the correct assembly and disassembly of equipment. While it may appear daunting at first, especially with the minimalist yet meticulous principles of a Doing It Right (DIR) configuration, this process becomes second nature with practice, understanding, and the right mindset.
This in-depth guide supplements the instructional video and is designed to walk you through the logic and practice behind every movement, offering a more reflective perspective on the why behind each action. Let’s unpack the deeper discipline of assembling DIR dive gear.
Before we get hands-on, it’s worth addressing a common misconception: DIR equipment configuration is not overly complex - it’s intentional. Every item, placement, and technique is rooted in a safety-first philosophy that prioritises consistency, team awareness, and minimalism. Understanding this elevates the assembly process from a chore to a ritual of preparation, competence, and self-reliance.
Place your cylinder upright on a stable surface. This is not merely for convenience - it prevents rolling, injury, and equipment damage. If you're using rental tanks, always inspect them. Look for up-to-date visual inspection and hydrostatic test markings. Your life depends on it.
Whether you're diving nitrox or air, always analyse your gas. The complacent diver who trusts blindly in a fill station risks breathing the wrong mix - a potentially fatal error. Use your own oxygen analyser whenever possible. Make a habit of labelling your cylinders with analysed content, MOD (Maximum Operating Depth), and your name. This isn’t just for nitrox divers; it's part of taking ownership of your dive.
Even in a team-oriented discipline like DIR, gas analysis remains a personal responsibility.
Once the cylinder is ready, mount the BC (backplate and wing system) from above. The wing should align with the side where the valve opens. While many agencies offer a ‘four-finger’ rule for cam band placement, such prescriptions often fail to account for individual variation.
Instead, use functional placement: the first stage and valve must be reachable in an emergency without impeding your head movement. Your backplate should sit in a position that balances both streamlining and personal comfort - a point often neglected by rigid “one-size-fits-all” instructions.
Secure the cam bands tightly. A misthreaded or loosely fastened band can lead to catastrophic gear failure. Learn the correct threading method and verify the tension - lift the rig and try to move the BC. Any movement means re-tightening is necessary.
When handling the regulator, always hold it by the first stage and gather the hoses neatly. Orientation matters: the second stages go to the right, the SPG and inflator to the left.
Secure the long hose by clipping it to the right shoulder D-ring to prevent it dragging or entangling. Now inspect the O-ring on the regulator connection. It must be present, seated, and undamaged. Screw the first stage gently into the DIN valve - tight enough to hold, but never forced.
Avoid the dangerous habit of leaving the valve slightly open (the infamous “quarter turn back”). This has led to many accidents. A valve should be either fully open or fully closed - no in-between.
Once connected, test the gear:
- Purge a second stage and smell the gas: it should be clean and neutral.
- Breathe from both second stages: there should be no stuttering, free-flow, or difficulty.
- Inflate the wing fully and trigger the overpressure valve.
- Pull the dump valve cord to test its operation.
This is your initial self-check, not to be confused with the formal team pre-dive check, which is still to come.
Assemble your gear at least 30 minutes before the dive. Once your kit is pressurised and tested, close the valve. Watch your SPG - if it drops over time, you have a leak. This subtle trick can reveal leaks before they become a real issue mid-dive.
If storing your kit between setup and dive, secure it carefully. Falling tanks can not only injure people but also damage valves and regulators. Your careful setup is only as strong as its final handling.
Now comes the often-overlooked art of hose donning. The sequence matters:
- Short hose (necklace): This goes on first and stays under your chin. It’s your primary breathing source in non-emergency situations.
- Long hose: This is your donation regulator in an out-of-gas scenario - it must be free and untangled. Route it under your right arm, across your chest, around the back of your neck, and clip it to your right D-ring.
Tuck the excess under your waist belt - snug but not overly tight. You should still be able to turn your head comfortably to the left while breathing from it.
Proper hose routing is more than a cosmetic detail - it streamlines your profile, reduces drag, prevents entanglements, and makes your gear predictable to teammates in any condition.
Disassembly is often rushed, but it's as critical as setup.
- Close the valve, purge the system, and depressurise gently.
- Disconnect the LPI hose and SPG.
- Remove the first stage - never force it. Use gentle wiggling if necessary.
- Ensure the dust cap is dry before sealing it to prevent internal corrosion.
- Detach your regulator carefully and place it somewhere clean.
Then, remove your BC. Releasing residual air helps it slide off more easily. Rinse your gear thoroughly in fresh water - especially after saltwater dives. Let your second stages and hoses soak (not the first stage) to remove salt crystals. Store everything coiled loosely, BC partially inflated, and in a dry, cool place.
The process of assembling and disassembling your scuba gear is a vital ritual - one that reflects your attitude toward safety, mastery, and professionalism. The DIR system may look particular and even finicky at first, but every step is steeped in logic and hard-won experience. Mastery comes not from memorising a checklist, but from understanding the why behind every motion.
When you handle your gear with care, mindfulness, and consistency, you’re not just preparing for a dive - you’re embodying the mindset of a dependable dive partner. That’s the true spirit of DIR.
So next time you're setting up your kit, don’t rush through it. Take your time. Understand the system. Make it your own. And remember: your dive begins the moment you touch your gear - not the moment you enter the water.